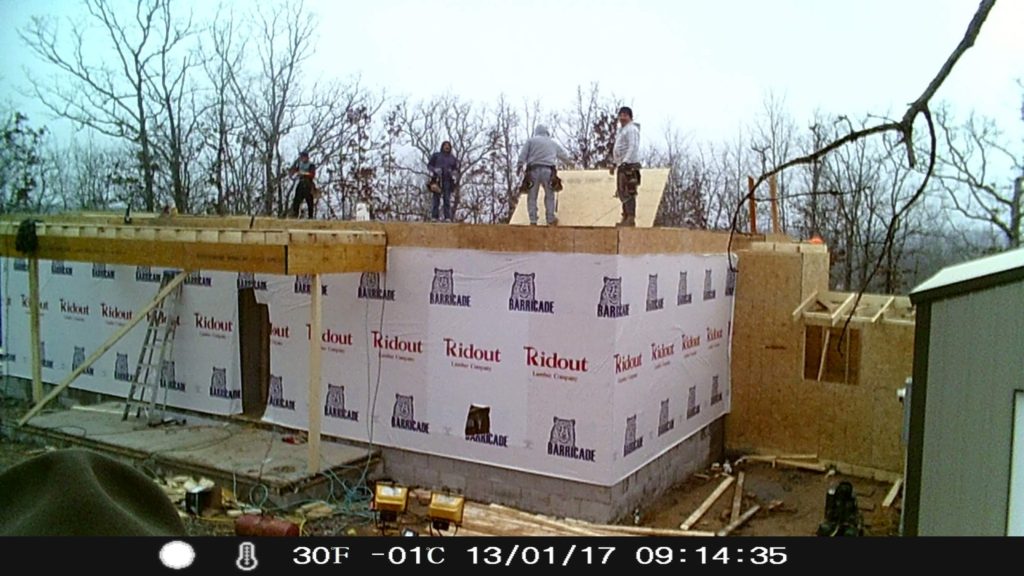
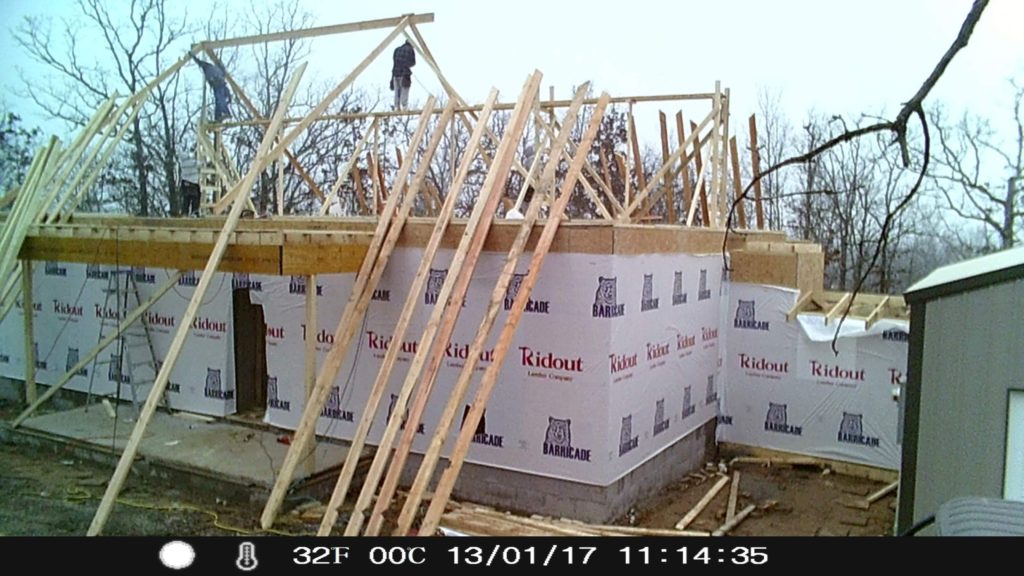
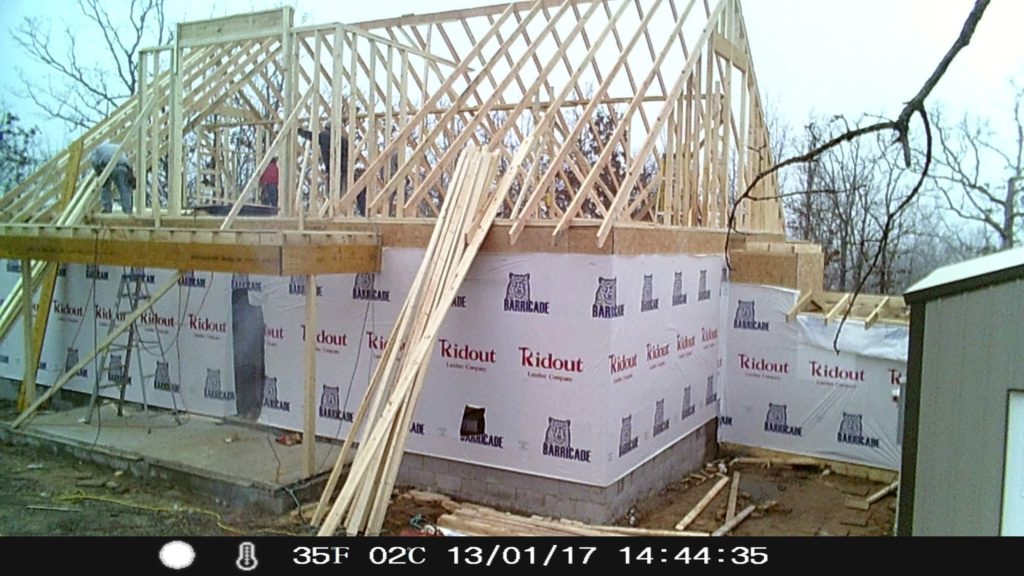
Seeing our house being framed was like a scene out of a movie. All of the sudden, the plans we drew on graph paper were coming to life.

All of the rooms and spaces we had walked through in our minds could ACTUALLY be walked through. And it looked like it might actually work! Project Dream House was thoroughly underway!
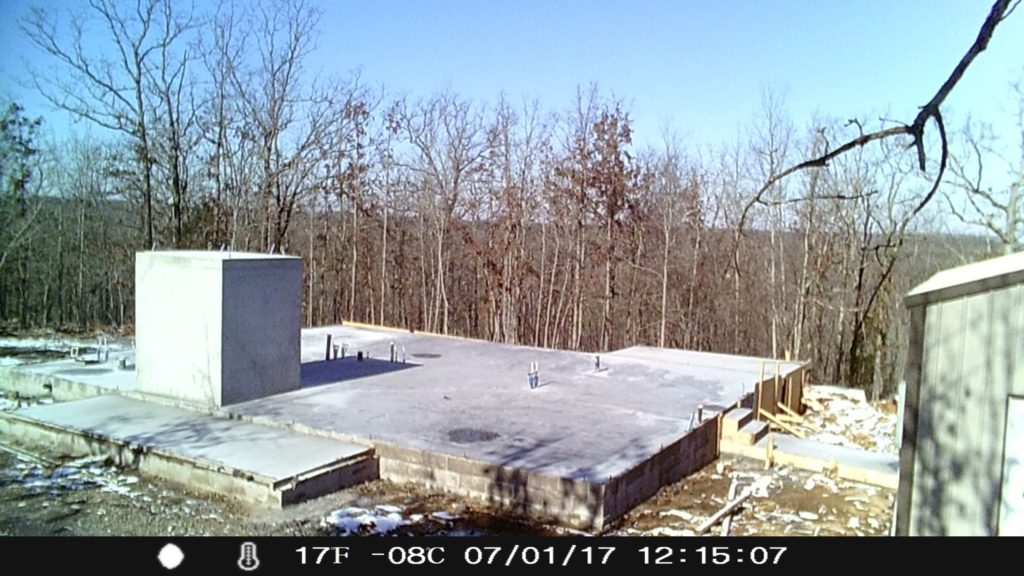
The speed at which it was framed was nothing short of amazing.
The day the framers were starting on our house, The Man went out to our land to watch the process start before he went to work. It was very early in the morning so the kids and I stayed home. At the time, we only had two children and the youngest was a baby. I didn’t want to get the kids out that early. Plus, it was January. It was coooollllddd.
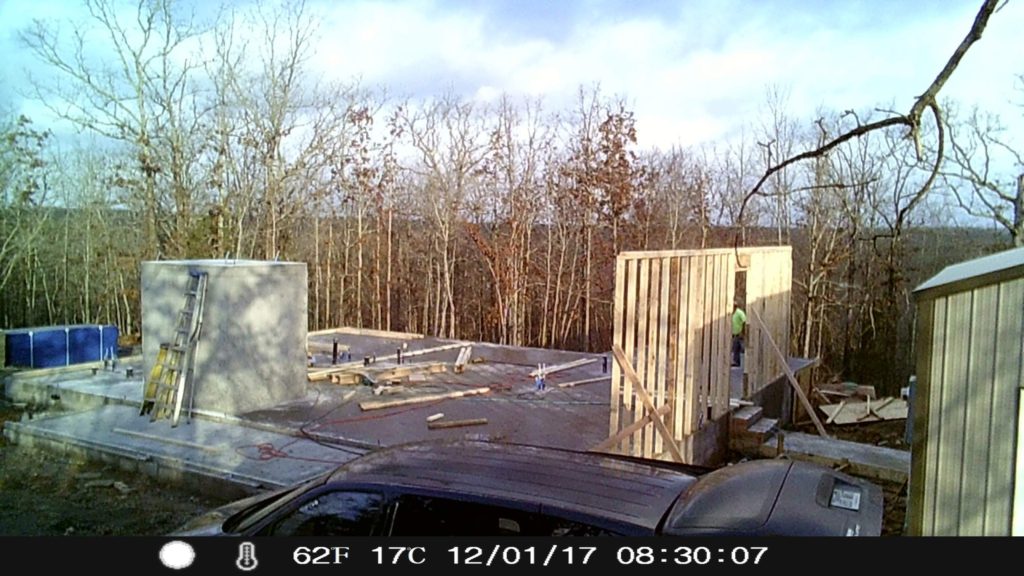
When the slab was poured, we also had a concrete patio poured among the trees. So, The Man took a cup of coffee and watched as the framers worked their magic.
Since we were our own general contractor, we had to find our own framer. When we were calling around getting prices from framers for the job, we had two things in mind: a good price and a good recommendation. We didn’t have professional blue prints drawn up so we needed a framer who could work with the plans we drew out ourselves on graph paper. As we were calling framers, we found some who would work cheaper but we also knew that there is a balance between cheap labor and quality work. We found a framer who had a crew that worked for a good price and they came highly recommended from our concrete guy (who we already trusted because of his honesty and quality of work).
In our experience, framers price their jobs based on the square footage of the project. Our framer charged around $3 a square foot. They also charge you for nails. That price is also based on the square footage of the project.
All throughout the building process, we referenced “Housebuilding: A Do-It-Yourself Guide”.
Housebuilding: A Do-It-Yourself Guide, Revised & Expanded
It has FIVE chapters dedicated to framing. The table of contents has each chapter thoughtfully itemized so we could go right to the section that pertained to us. We learned a lot about joists, composite lumber, sills, beams, pony walls, top plates, pitch, slope, rafters, headers, etc. from that book.
It was nice to have a book to reference and not have to Google EVERYTHING.
When our framers started building our house, The Man noticed that they completely forgot to frame in the large 7ft by 7ft window in our bedroom. I don’t know how they missed it on the plans! Thankfully, he was there and able to point it out before they raised that wall up.
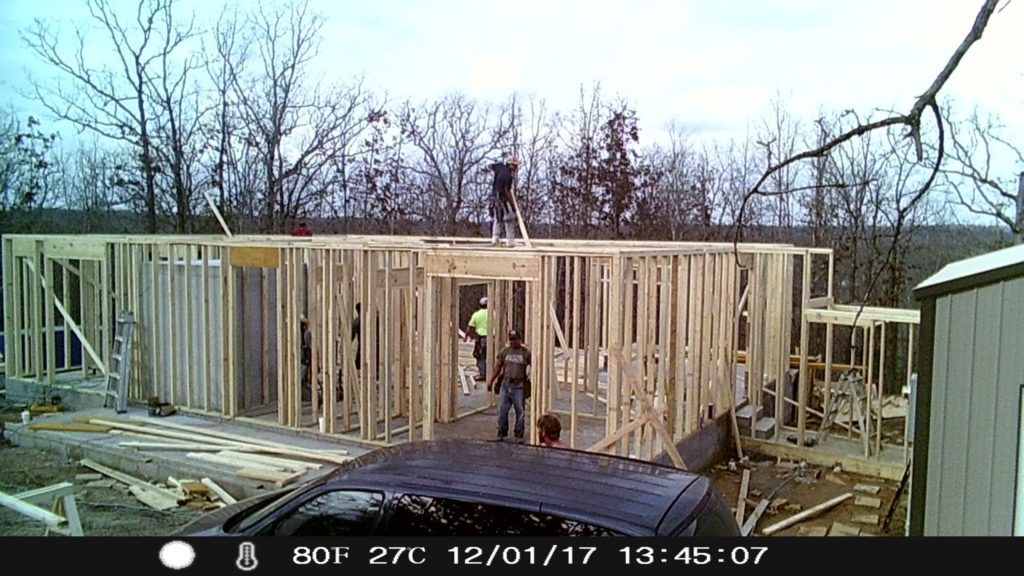
Once they got started, it only took them about 4-5 days to frame the ENTIRE house.
The Man went out each day after work to check on the progress. The kids and I went with him when we could.
We noticed several mistakes along the way. For example, we had an antique window that we purchased. The idea was that it would be an interior window that would overlook the stairwell from the upstairs sitting room. The framers needed to leave a 2 foot by 2 foot space for that window. When we went to check on the progress one day, we realized they left a 3 foot by 18 inch hole. We had written the dimensions on the house plans and explained the whole idea to them. They just didn’t look at the plan OR listen to what we said!
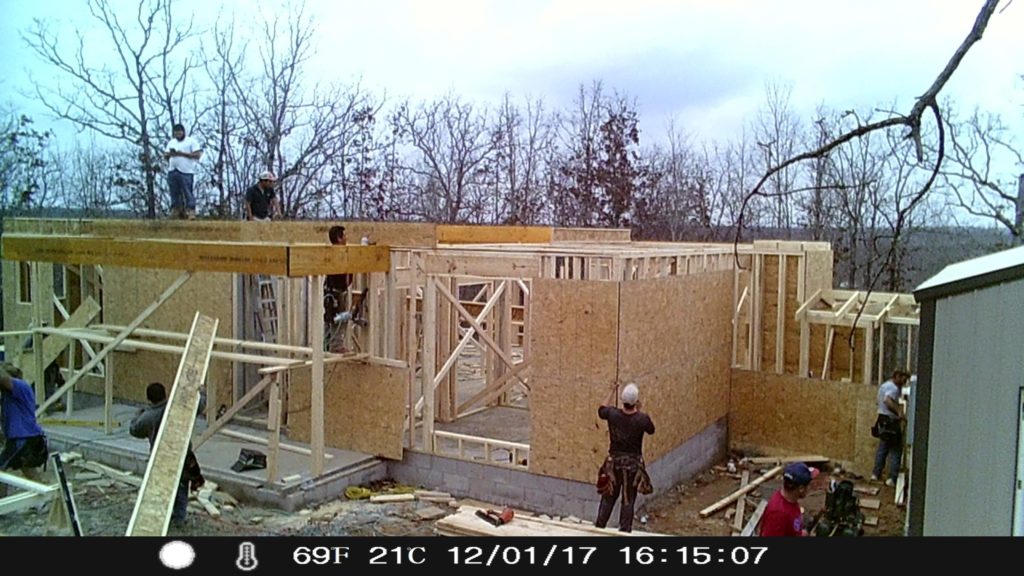
Another example is that the door to the kids room was one foot in the wrong direction. Trust me, it made a difference. I told them it was wrong but they didn’t want to listen to me. I mean, what could a girl like me know about building a house, right?
When I drew the house plans, I drew it to SCALE. I put the kids’ bedroom door exactly where I wanted it because on one side of it is their closet and the other side is the stairwell. It needed to be exactly right. The framers figured that out when they started building the staircase and the bedroom door was in the way. They promptly moved it. Ha!
The last example I can think of is the deck off the Man Room. The floor is made from composite deck boards. The boards are supposed to have a quarter inch spacing PER THE MANUFACTURER’S INSTRUCTIONS.
The Man: “Now, when your guys lay these boards, they need to space them so they have room to swell in the summer.”
Framer Boss: “Yeah. They will.”
The Man: “So they have used this type of flooring before?”
Framer Boss: “Oh yeah. No big deal.”
The Man: “How far will they space them?”
Framer Boss: “They always space them about a quarter inch. That’s how we always do it. We would NEVER butt them up together. We would never NOT space them. Trust me.”
The next day…
The Man: “Your guys did not space those composite deck boards. Now, they might swell and buckle in the summer heat.”
Framer Boss: huffing and puffing and trying to blow the house down
Why is it that when you ask someone about something they did NOT do that they said they WOULD do, they get mad?
After he huffed and puffed and steamed a while, the Framer Boss sent one of his guys upstairs to fix the composite deck boards. However, the screws were stripping and it was going to be a mess so The Man told them to just forget it. Those boards were expensive and we didn’t want to risk messing them up (again).
So far, so good. They haven’t swelled or buckled yet.

Those are just some of the things you have to deal with when you are acting as your own general contractor.
However, overall, the framers did an excellent job. It was fun to watch them work and even more fun to walk through the house when they finished framing it.
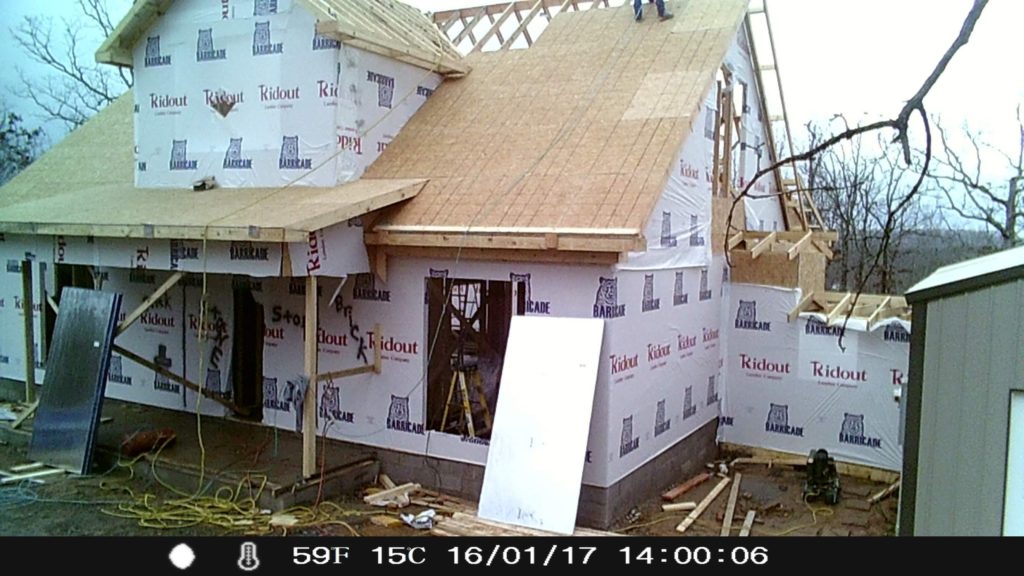
Here is what happens in the framing phase:
House gets framed (obviously)
Windows installed
House wrapped with weather proof wrap
Roof decking installed and covered with weather proof material
Exterior doors installed
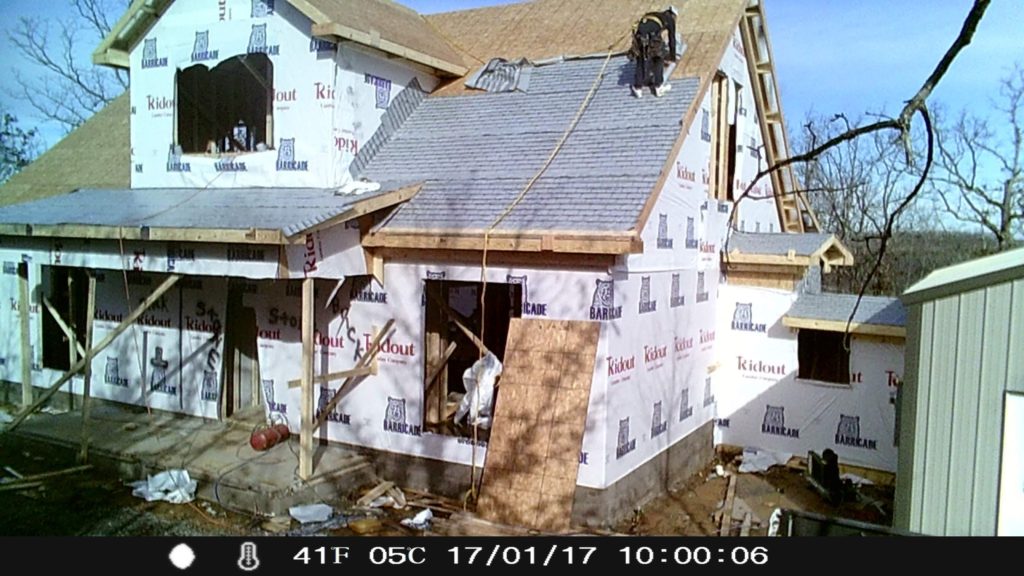
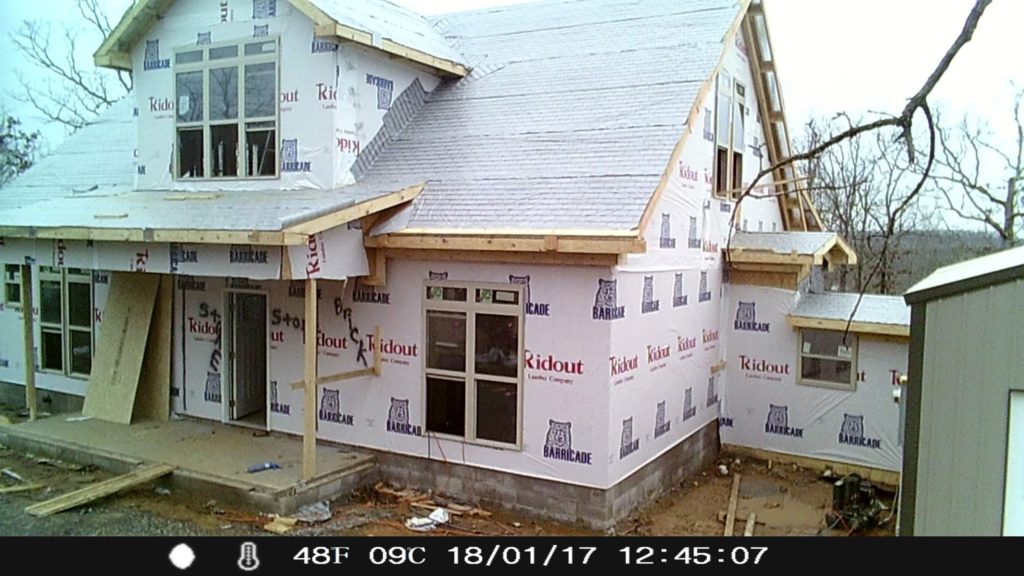
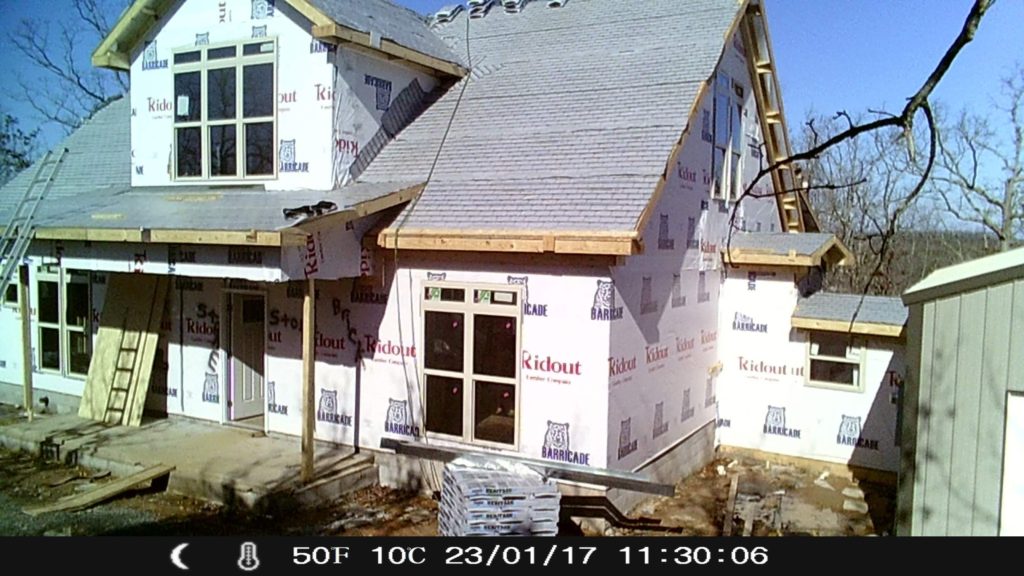
When the framers were done, it looked like a house! Obviously, it had no brick on the exterior or shingles on the roof but you could actually unlock the front door, walk inside, and look out a window.
They also built the framework for the staircase and nailed on temporary 2x4s for the treads.
Something to keep in mind is that you should never pay for the job in full before it is done. Sometimes, people don’t have much motivation to work if they’ve already been paid. We paid our framers half of the agreed upon amount when they were half way done. They got the final payment when the job was completed to our liking.
Seeing our dream unfold in front of us was so exciting. Especially since we had worked so hard to pay for this entire house with CASH!
Are you wondering how to become debt-free? I’ve got full details here.
All the best,
Lindsey
