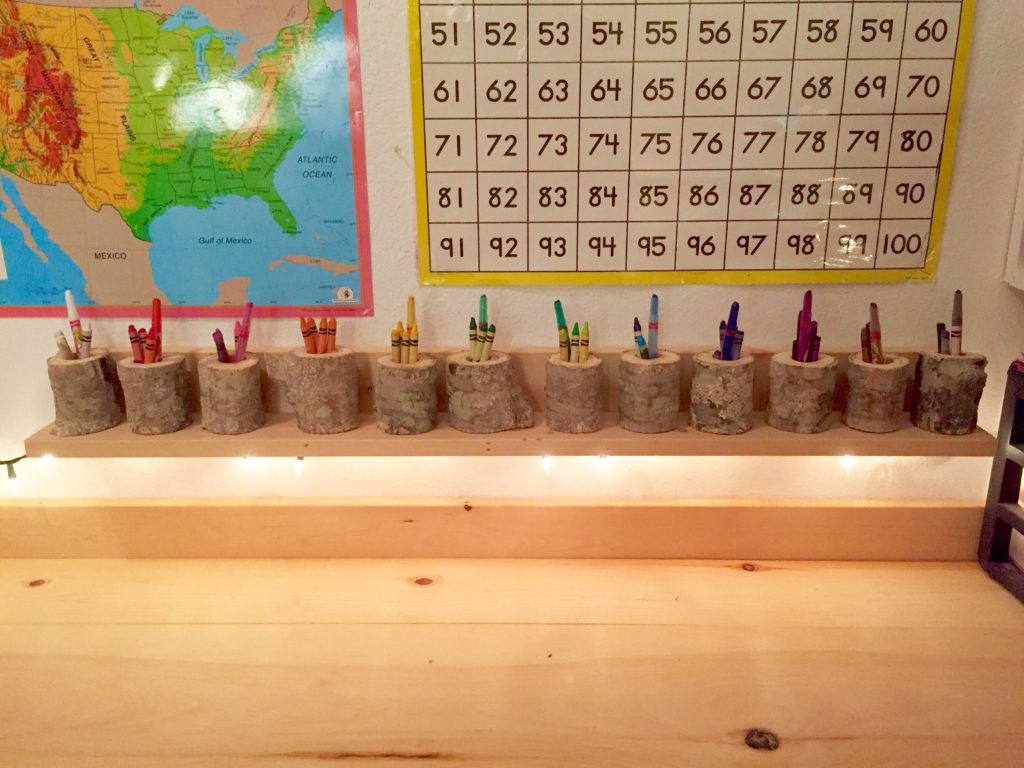
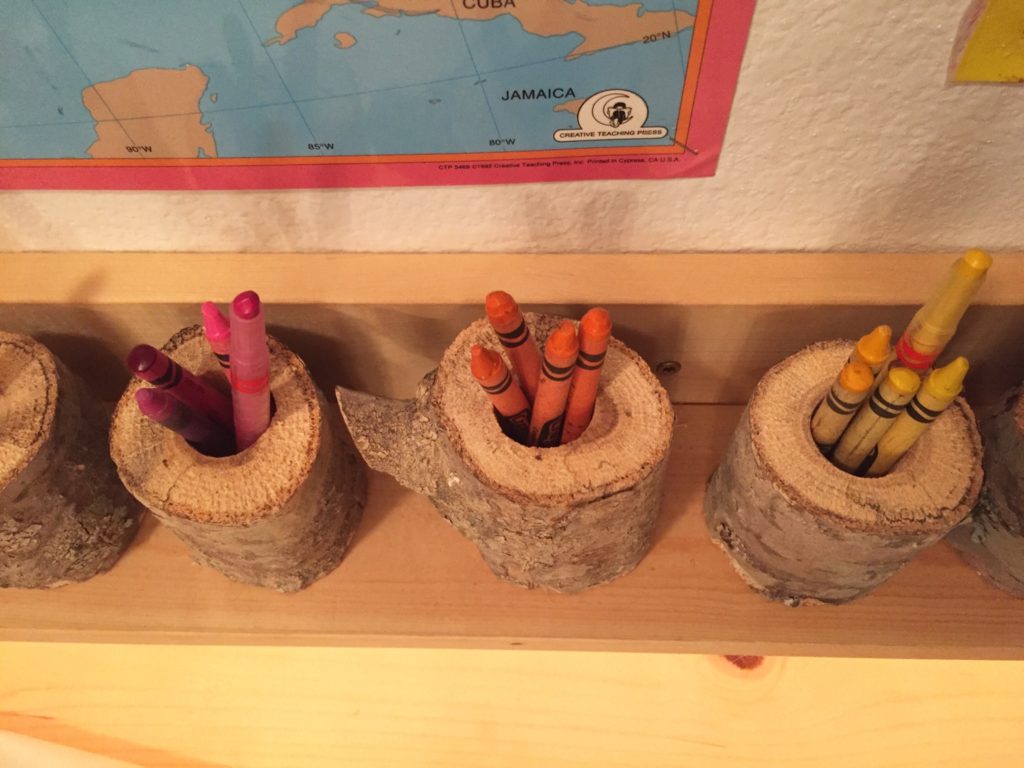
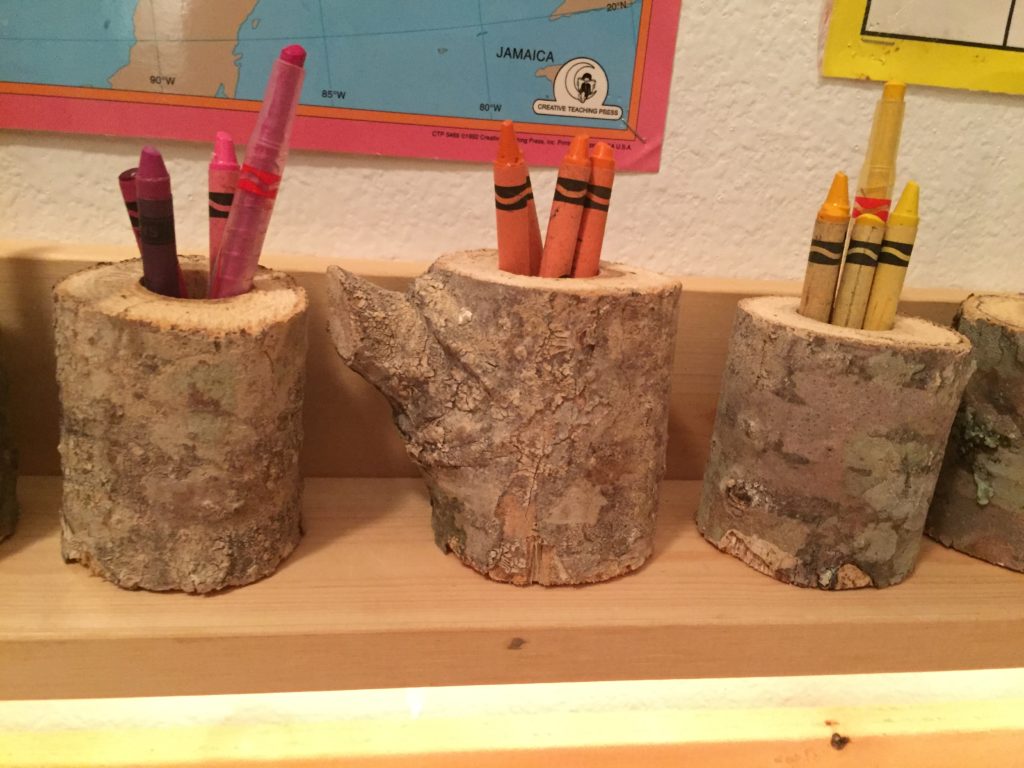
So, my latest DIY is a little crazy. I made a crayon organizer out of a tree! Yes…a tree!
According to my daughter, I’m always “taking the hard way around” so I guess this project is fitting. Why make a crayon organizer out of something “normal” when I could just make it out of a tree?!

Here is how this all started…
My kids are always in our homeschool room creating something. They love to color, paint, play with play doh… you name it and they are doing it! Most of the time our homeschool room ends up being a mess because of it. The table is usually a pile of papers, coloring books, and crayons.
That is why I wanted to make a crayon organizer. I wanted their crayons to be easily accessible and tidy. (I recently organized all of the papers and coloring books when I built cabinets for the homeschool room.) I also knew our seven-year-old would LOVE to have them divided by color!
I looked up “DIY crayon organizers” on Pinterest and found tons of creative ideas! My favorite was from sugarbeecrafts.com. She used aluminum cans to create an organizer!
Here is the link if you want to check it out:
Sugar Bee Crafts Crayon Organizer
As much as I loved that idea, we don’t buy food in aluminum cans! So, I didn’t have any I could use. I brainstormed for a long time about what I DO have. And I DO have a lot of trees!
I also got a lot of inspiration from theartfulparent.com about how to set up a creative space. They have SO many good ideas! Here is a link to that awesome article:
How to Set Up a Kids Art Space
So, I channeled my inner lumberjack and went out to our woods with my bow saw. I was looking for a tree with a 3in diameter and pretty bark.

We have trees that are already down in our woods from when we had a path cleared for our UTV. I didn’t want to cut down a live tree for this crayon organizer so I looked at all of the trees that were down. And I found a beautiful one with light-colored bark! The diameter was perfect and it was very straight.

I used my bow saw to cut a 7-foot section out of it so I would have plenty to choose from and I carried it home.
Then, I cut the tree into 3 inch pieces using my miter saw.
Once I had 12 pieces, I used a 1 inch spade bit to drill holes in each piece. Each whole is 2 inches deep.

Then, I made a shelf out of 1x4s that was 39 inches long. I secured each piece of tree to the shelf with a little bit of hot glue.

I decided to secure it to the wall with screws right above the homeschool room table I made. That way, my DIY crayon organizer would be up out of the way but still in reach.

Miss G was so excited to organize all of her crayons in it! I chose to cut 12 sections so she would have plenty of room for more than just Roy G. Biv!
She used the organizer to divide her crayons into these sections: white, red, pink, orange, yellow, green, light green, bright blue, blue, purple, brown, and black.
No more digging through the crayon box to find what you want!

Here are links to tools I used:
DEWALT DW1582 1-Inch by 6-Inch Spade Drill Bit
Bahco 10-30-23 30-Inch Ergo Bow Saw for Green Wood
Let me know what you think in the comments!
Do you have artsy kids? Check out my post on Awesome Gifts for Artsy Creative Kids!
You might also like my DIY Toy Car Road Table
*This post contains affiliate links.


Good job, I think we need to talk with pbs and see if we might have something here. Who knows!!!!
Let’s do it! ?
Pingback: Gifts for Creative Artsy Kids – Big House in the Woods