My kids love being in the kitchen with me. They love to cook and learn new recipes. Even my three-year-old was thrilled when I taught him how to make homemade oatmeal!
With that being said, they can’t be in my kitchen all the time. Sometimes I need to cook fast. I don’t always have time to teach them something new. Sometimes, life happens. Right?

So, when they can’t be in my kitchen, they love to play with their little kitchen in their room.
Here’s a quick back story: When Miss G was three, she got a little play kitchen for Christmas. She absolutely loved it! She played with it a lot. Then, when Little Man got older, he played with her too.
Recently, I realized it was getting harder for them to play with the little kitchen because it was…well…little. Miss G was way too tall for it and there was no way the two of them could play side by side.

That’s when my wheels started turning. I decided to build them a bigger kitchen! I just love building projects…don’t you?!
Out in our ever-so-handy garage, I had old cabinets that my husband’s cousin gave us when we were building the garage. They were from an office building renovation and they are exceptionally sturdy. We hung some of them out in the garage for storage but we had a few left over.

For the “new” play kitchen, I decided to use one of the “uppers” for a base cabinet as well as a small cabinet to go over their stove and sink area.

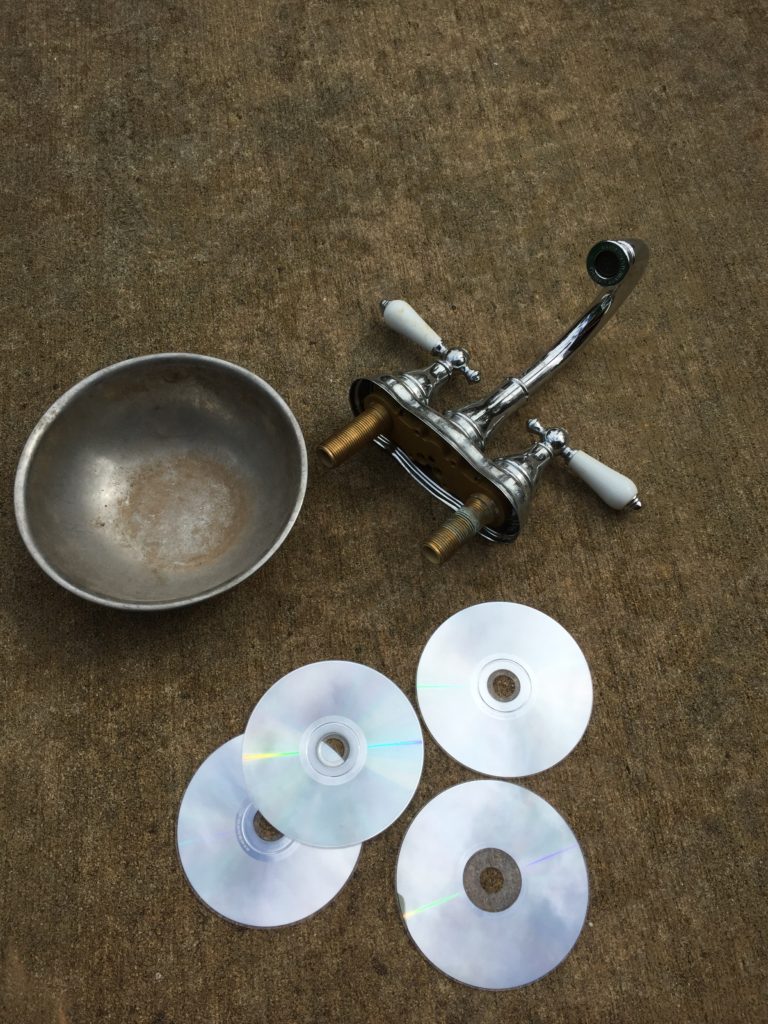
I gathered an old sink faucet, a stainless steel bowl, and old CDs to use for stove burners.

**Doesn’t everyone’s garage have all this stuff in it?!
I painted the top of the base cabinet white then painted a square of charcoal to serve as the stove top. Then, I cut a hole in the top of the cabinet and dropped in the stainless steel bowl for a sink.

By the way… I installed the sink faucet so that the handles would actually turn!

On the charcoal colored “stove top”, I hot glued old CDs to serve as the burners.

The kids were SO excited about the kitchen I built for them! Little Man calls it their “New Kitchen.”

Later, I decided to add a single “upper” cabinet and cover the door in white contact paper to serve as the refrigerator. And I gave them my toaster oven which had recently decided it only wanted to bake at 500 degrees! (I cut the cord off the toaster oven first so they couldn’t plug it up.)

Now, they both can work in their new kitchen and they have plenty of room!
We also raided our recycling tub so we could add some groceries to their kitchen. ?

If you liked this post, you might also like my DIY Toy Car Road Table!
Happy Creating!
-Lindsey


Great and neat idea…..Once again you blow my mind. What’s great about the whole thing is it’s a teaching method also. Can I come live there too.
Dad
You crack me up!! Thank you!