In my last post, I told you all about our Septic Tank Patio and the Battle of the Scorpions. If you haven’t read that yet, here’s a link:
Now, let’s talk house plans.
This part is SO FUN!
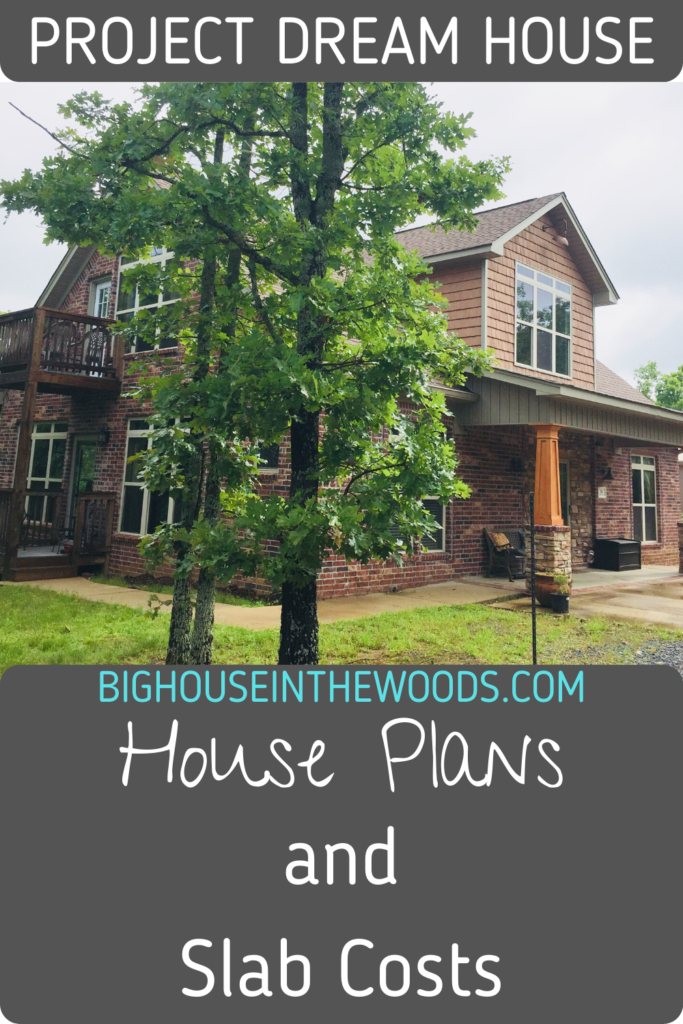
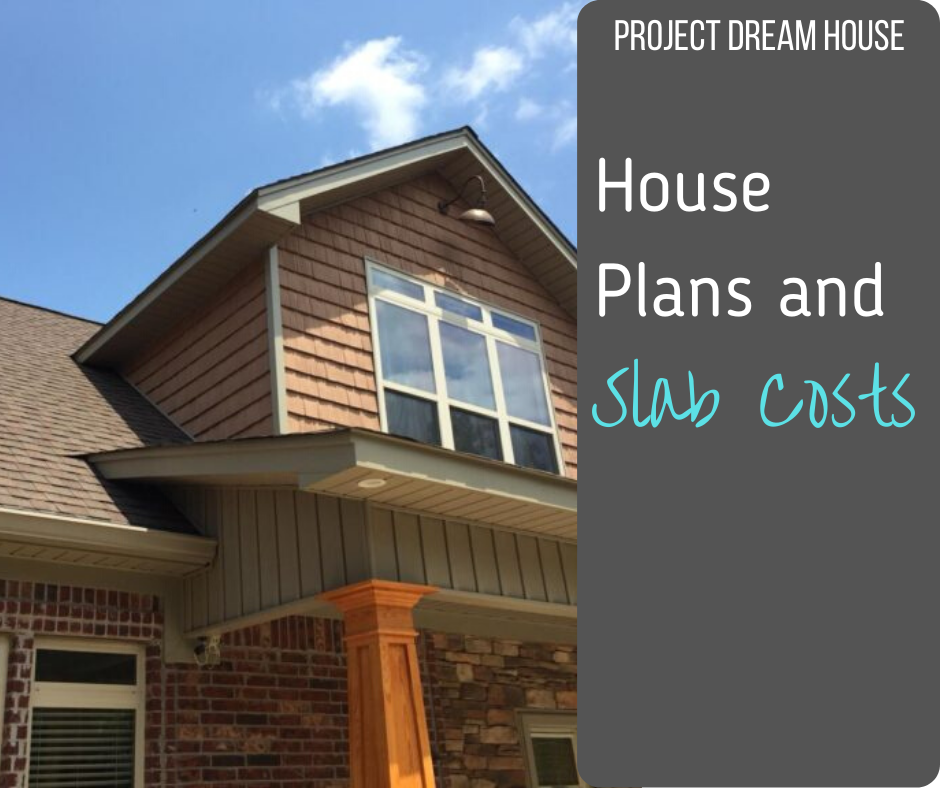
We knew when we were designing our house that we wanted it to have personality and character. As we talked about it, we realized that when we were both kids and we drew a picture of a house, we usually drew something two stories with a big dormer on the front.
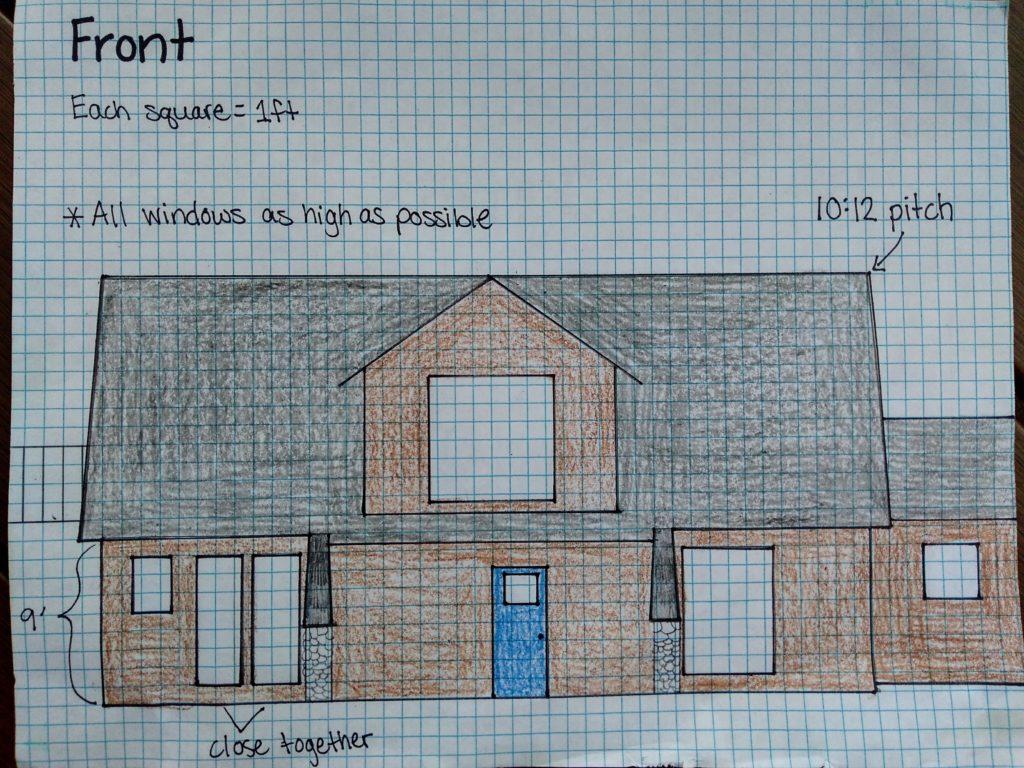
We wanted it to look like the house we always had in our imaginations. We didn’t want it to look bland. That’s what drew us to the Craftsman style. Big dormer. Stone. Tapered wood columns on the porch. There was actually an article in This Old House Magazine that provided a lot of inspiration for us.
https://www.thisoldhouse.com/ideas/idea-house-2015-cottage-cloudland-station
We decided to build a two story house for two very critical reasons.
Reason #1: It’s cheaper to build “up” than “out.”
Let’s say you want to build a 2000 square foot house. If you build it one story, that means you have a 2000 sq. ft. slab of concrete (provided you are building on a slab). That also means you have to pay for a roof that will cover that 2000 sq. ft.
However, if you take that same 2000 sq. ft. and build it two stories instead. That changes everything. Let’s say you have 1000 sq. ft. down stairs and 1000 sq. ft. upstairs. That means you only have to pay for a 1000 sq. ft. slab and a roof that only has to cover that 1000 sq. ft. slab. That’s half the amount of slab and roof than the 2000 sq. ft. one story house.
Don’t forget that building two story also means that you will need to buy less concrete blocks for your footing and less fill to go under the slab.
Reason #2: We thought it would just be cool to have stairs in our house because we both grew up in one story houses. ?
Our house is 1344 sq. ft. downstairs and 920 sq. ft. upstairs with a hall that connects the house to the 900 sq. ft. garage.
Here’s our cost breakdown for the slab phase:
Footing materials- rebar, lumber for bracing, string: $404.67
Sand for block: $220
Footing concrete: $2,603.65
20 bags of mortar: $208.11
Blocks and brick for footing: $1,597.87
Block labor cost: $1,135.00
Footing labor cost: $1,750.00
Slab framing supplies: $112.74
Cost to have house space filled and packed for slab: $1,790.00
Pump truck extra cost (since our house is on a hill and the truck couldn’t drive behind it): $650.00
Slab concrete cost: $1,343.75
Slab labor cost: $1,974.00
Plastic moisture barrier- $112.11
So, that means, the entire cost of the footing and slab comes to: $13,901.90
(Had we built one story, the cost could have easily been around $28,000! Yikes!)
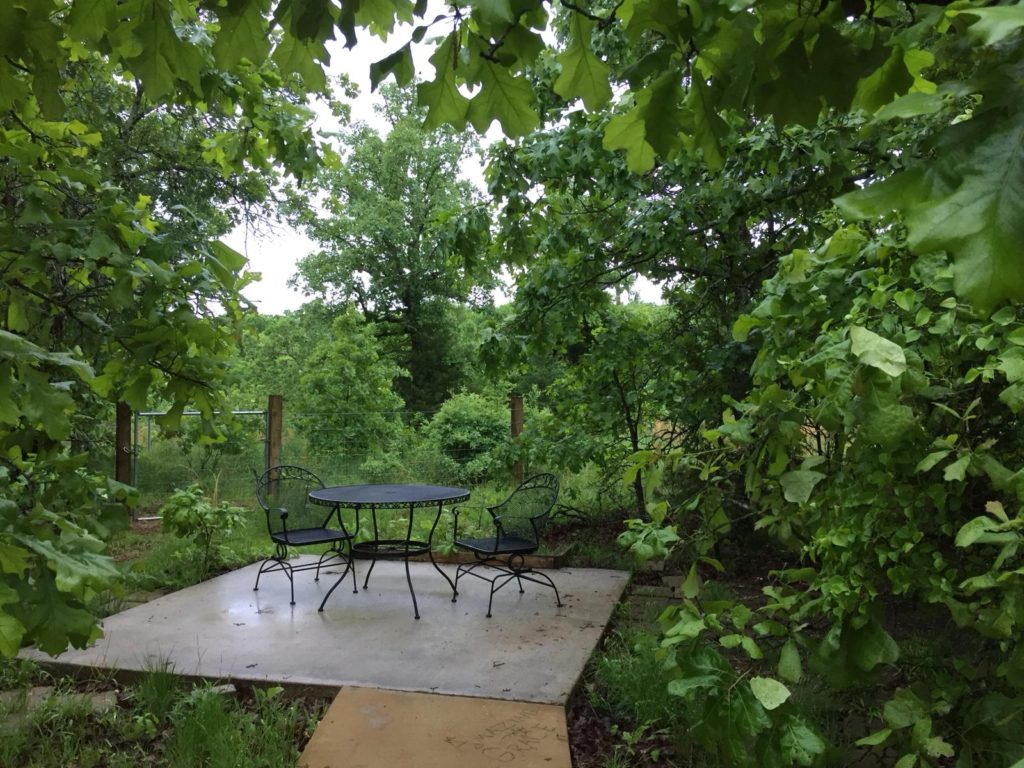
That $13,901.90 includes the 1,344 sq ft slab for the house, 10 x 15 screened porch slab on the back of the house, 5 x 19 front porch slab, 4 x 11 slab for hall to connect the house to the garage we had already built, and a 10 x 10 concrete patio in the trees out front.
We also had a FEMA approved concrete safe room installed. We made it into our master closet so it would have an everyday use and not be wasted space. It was installed before the slab was poured. The slab was then poured in and around it so that the safe room is now part of the slab.
6ft x 7ft FEMA approved concrete safe room delivered and installed with crane: $3,630.00
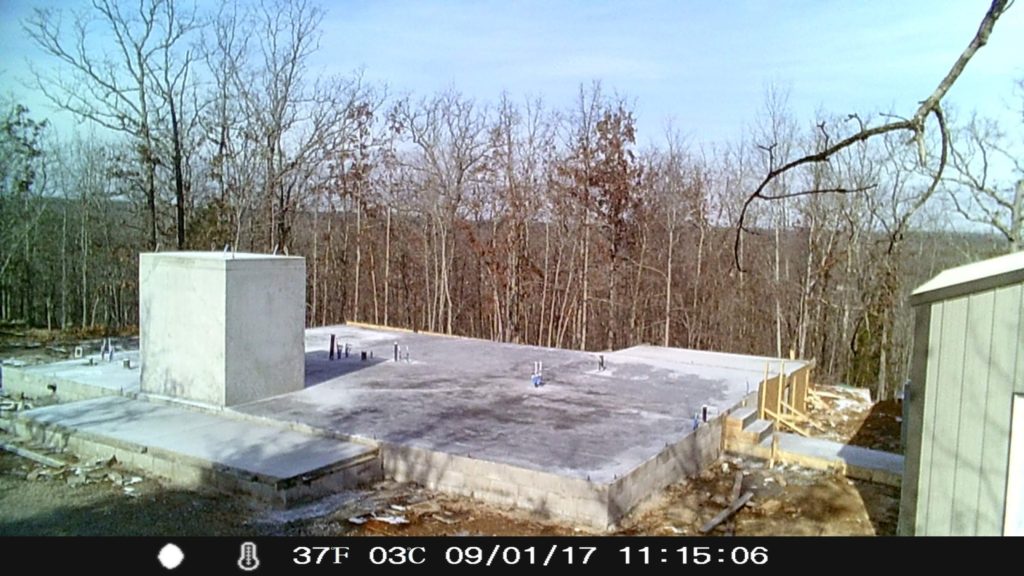
(DETAILS: We have already made use of this safe room several times. It has a light, electrical outlet, phone jack, HVAC vent (so we can stay cool in there during summer time storms), and TV antenna connection so we can watch the weather forecast while safely in the safe room. It has a FEMA approved metal door with THREE dead bolts. The company we bought it from custom builds them. Inside the concrete walls there is rebar and metal wire to reinforce it. As they are making it, they leave rebar sticking out of the bottom of the walls so that when the slab is poured it becomes one GIANT piece of concrete with the house.)
Our house is what some people might call “a story and a half.” My uncle is a builder and told us that to get the most for our money, we should just raise the pitch of our roof and essentially build our second floor in the attic. By just raising your pitch, you get an entire second floor for (basically) just the cost of the studs in the walls. These days, people are building houses with higher pitched roofs anyway. Most of them are doing it just to make the house look more grand from the outside. (I guess. I’m not a fan. I think they look like mushrooms; giant roofs with little houses underneath.) However, many of them aren’t even using that space. It’s just a hot, wasted attic. They could have just as easily insulated it, added a floor and an AC unit, and had a second story!
We added 920 sq. ft. to our house just by raising the pitch. The reason that’s cheaper than a traditional two story is because you don’t have exterior walls to build. The roof is your wall. That also means your upstairs can have some cool slanted walls if you want it to. Some of our walls are slanted upstairs but we still have 9 ft. ceilings up there.
Now, it’s time to talk about the fun part: DRAWING HOUSE PLANS! I loved this part. I started drawing house plans YEARS ago in preparation for this day! We drew our plans to fit THIS piece of land. I don’t believe you can take just any house plan and make it look right on any piece of land. Some places have a view to the front so you might want your living room and windows on the front. Some places might have a view to the back so you might want to do most of your living on the back of your house. You’ll want to take sunlight into account too. Do you want the West sun shining right into your living room? Here’s a big decision to consider also: Do you want the EAST sun shining right into you kids’ rooms in the morning?! Nope. Let those babies sleep. 🙂
We knew we wanted our living room on the back of our house. That way it would be easier to hide if someone rang the doorbell facing the view of our woods (our house is situated on top of a ridge and we can see other hills miles away and a lake). We have about 35 feet of floor to ceiling windows in our living room (which is the entire two exterior walls). We literally drew our house plans to fit these windows. We found an EXTREMELY good deal on them, bought them, and stored them for years. Don’t bring this subject up to my father-in-law. He might cry. He has helped us haul them when we bought them, he’s stored them, checked on them, delivered them, and probably several other things I can’t think of right now. (We love you! You’re the best.)

That also means we would need a foyer or a hall so we could get from the front door to the living room. Sometimes, hallways are wasted space and we wanted to combat that. We wanted our foyer to have as many uses as possible. We designed our foyer to lead us to the front door, master bedroom, one of the kids’ bedrooms, the half bathroom, and the living room. It also contains a coat closet, a library, and a clubhouse under the stairs for the kids. AND it serves as a bowling alley for the kids’ plastic bowling set and a freeway for their ride-on cars.
We also wanted our master bedroom downstairs and at least one of the kid’s bedrooms downstairs. Another must was an open concept since I’m ALWAYS in the kitchen. I don’t like being in there and away from everyone all the time. I want to cook/clean and still be part of the action.
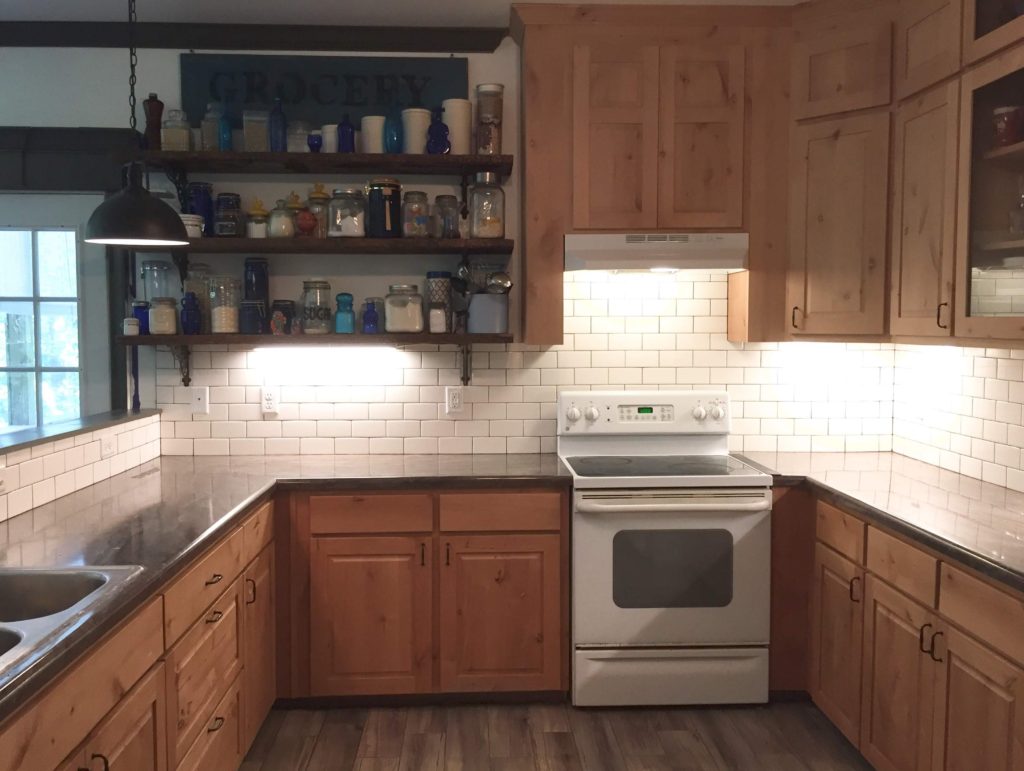
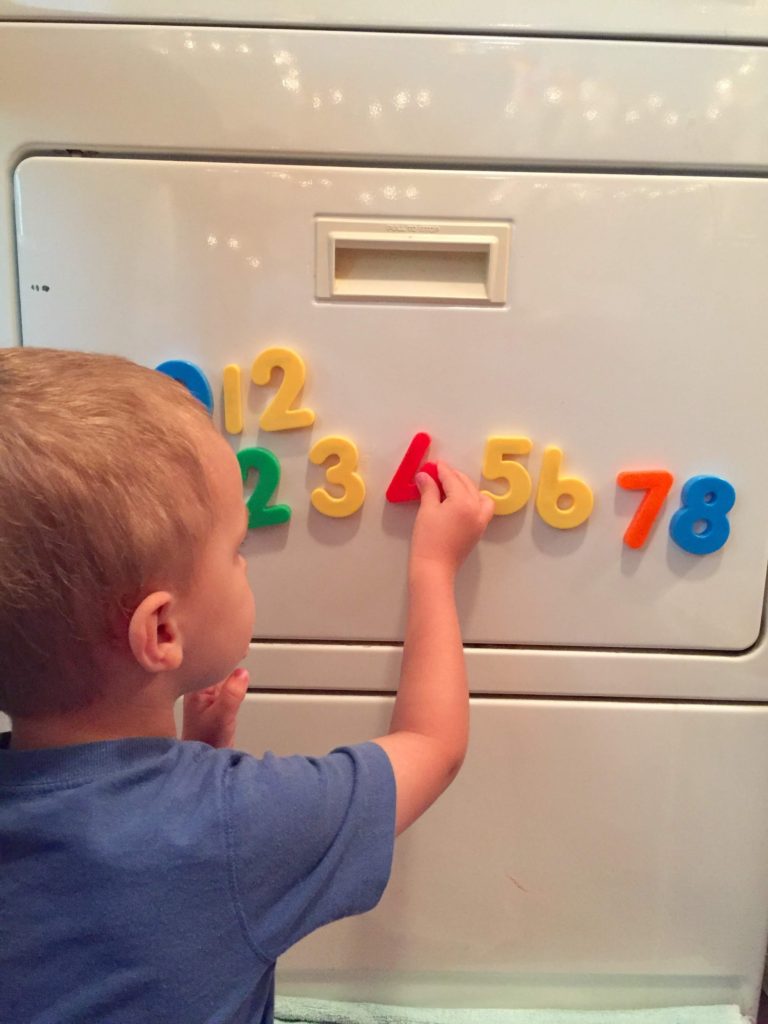
Also, I wanted the laundry room to be right next to the kitchen. I wanted to expand the laundry room so that 3/4 of it could be our homeschool room. That way, when the kids were working/ playing in the school room, I could help them and keep an eye on them from the kitchen. That plan has worked out BEAUTIFULLY.
Now, let’s go upstairs.
I knew a LOOOONNNGGG time ago that The Man needed a Man Cave. Seriously. We’ve been on 9 cruises so far and he brings home WAY too many souvenirs. I didn’t want that mess those beautiful cultural items displayed in my living room. So, we added a Man Cave upstairs that also serves as a fun place to watch family movies or play board games.
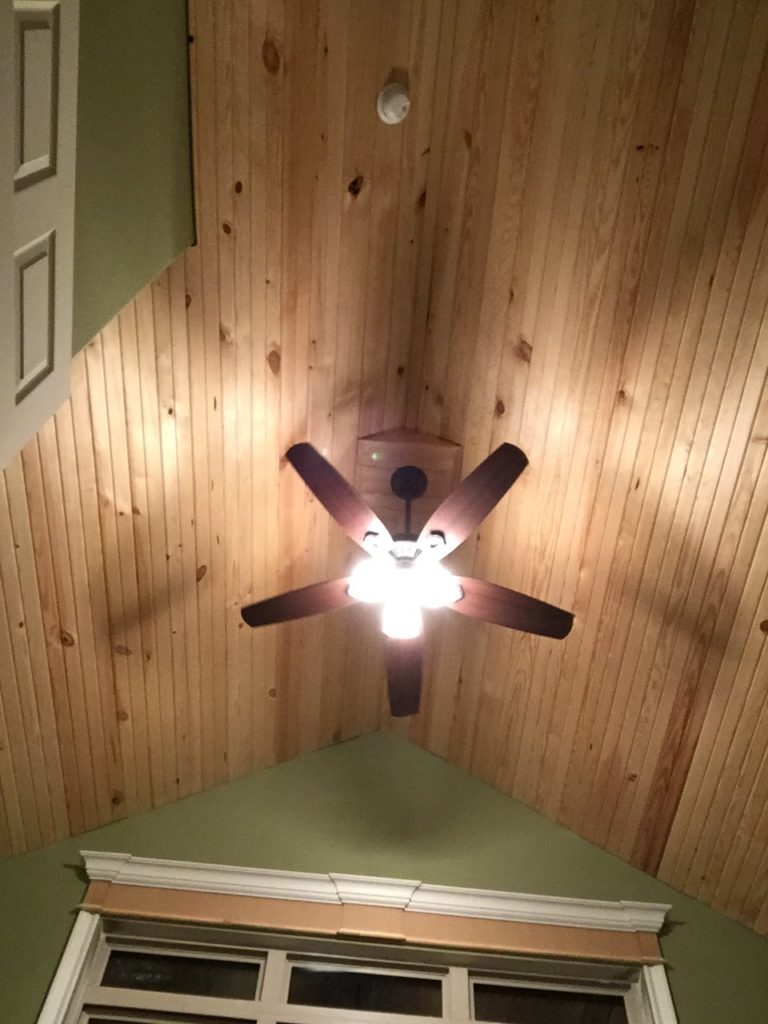
Because we wanted a big, beautiful dormer on the front of the house, that meant we had space for a sitting room with a vaulted ceiling! This is where we go to have tea time, Bible time, girl time, grown-up talk time, decompress time, coffee time…you name it and the sitting room is a good place for it. The sitting room has a 7ft x 7ft window looking out over the front of our property.
Finally, there is another bedroom upstairs that has two walk-in closets, there is a full bathroom, and two extra walk-in closets in the foyer for Christmas decorations, neatly organized craft supplies, lawn chairs, old college laptops, throw pillows we need to get rid of, batteries, cds, extra lamps, box fans, an entire Christmas village, too many electrical cords, buckets of paint, cushions for our outside chairs, door knobs we never put up, fabric even though I don’t sew, a heating pad, school supplies, ect.
We designed everything about this house to fit OUR needs (and wants) but to also be appealing to a buyer should we choose to sell it one day.
So, what’s next? Let’s get this baby framed! It’s time to watch the walls go up!
We would love to hear from you! Leave your questions and comments in the comment box below.
Also, DON’T MISS A BEAT! Follow us on Facebook!

I think you are just awesome! I saw your article in the 501 Magazine and found your blog. I, too, live in the 501 area! It is wonderful to see a younger person with your tenacity and having accomplished what you have. I am older than you, but I think we are on the same wavelength! I consider myself pretty frugal, have a small garden, started raising chickens, have a compost pile, and am trying to get my husband on board to do what it takes to become debt-free! We have just got to commit to it!
Good Luck and keep doing what you are doing! 🙂
Hi Renee!! Your comment made my heart sing! Thank you for taking the time to write!
It sounds like you are pretty awesome too! Committing to be debt free can be difficult but my husband and I found the journey to be so much fun. We enjoyed looking for ways to save money. One of our favorite things to do was go to the library to check out movies. It made a fun and free stay at home date night on the weekends.
One time I clipped a coupon for a free piece of pie from the SpringHill hospital cafeteria. I thought it would make a fun and free date but my husband drew the line. He was NOT about to do that! ? I guess we all have standards. ?
We are on Facebook too! Remember to follow us!